How Much Does a 4x4 Build Cost in Australia?
- Adventure Guide
- 8 min read
- 8 sections
A 4x4 build can be as simple as a few practical upgrades for weekend camping or as involved as a complete touring setup with suspension, tray, canopy, lithium power, water, refrigeration, communications and a rooftop tent.
That is why the better question is usually not, “What does a 4x4 build cost?”
It is: “What do I actually want this 4x4 to do?”
Once that is clear, the budget starts to make a lot more sense.
Quick Takeaway
There is no single useful average for a 4x4 build.
A weekend-focused setup and a complete long-term touring build are completely different projects. The final cost depends on the vehicle, how much equipment is integrated, the suppliers chosen, fitting and engineering requirements, and whether the build is completed all at once or in stages.
The practical lesson is simple: build the budget around the whole setup before adding accessories one at a time.
Start With the Adventure, Not the Accessory List
Before pricing the build, define how the vehicle will actually be used.
Local Weekend Adventurer
The priority may be getting packed quickly after work, heading away for one or two nights and keeping the setup simple.
That can mean basic recovery gear, refrigeration, an awning, simple power and enough storage to make short trips easy.
Family Getaway Explorer
Family trips can bring more storage, refrigeration, water, power, towing, suspension and comfort into the build.
The vehicle may still be used every day, but it also needs to make school holidays, long weekends and longer stays easier.
Long-Term Traveller
A vehicle prepared for months on the road can become a much more integrated touring system.
Tray and canopy, lithium power, solar, water, communications, recovery gear, storage and a long-term sleeping setup can all become more important.
The same base vehicle can end up with a completely different build depending on which of these adventures it is being prepared for.
The Major 4x4 Build Cost Categories
Suspension and GVM-Related Work
Suspension can become one of the earliest major parts of a touring build, particularly where the vehicle will carry a tray, canopy, batteries, water, passengers and towing load.
The project can move from a straightforward suspension upgrade into more involved GVM-related work that may include fitting, engineering and certification.
Bullbar, Winch and Vehicle Protection
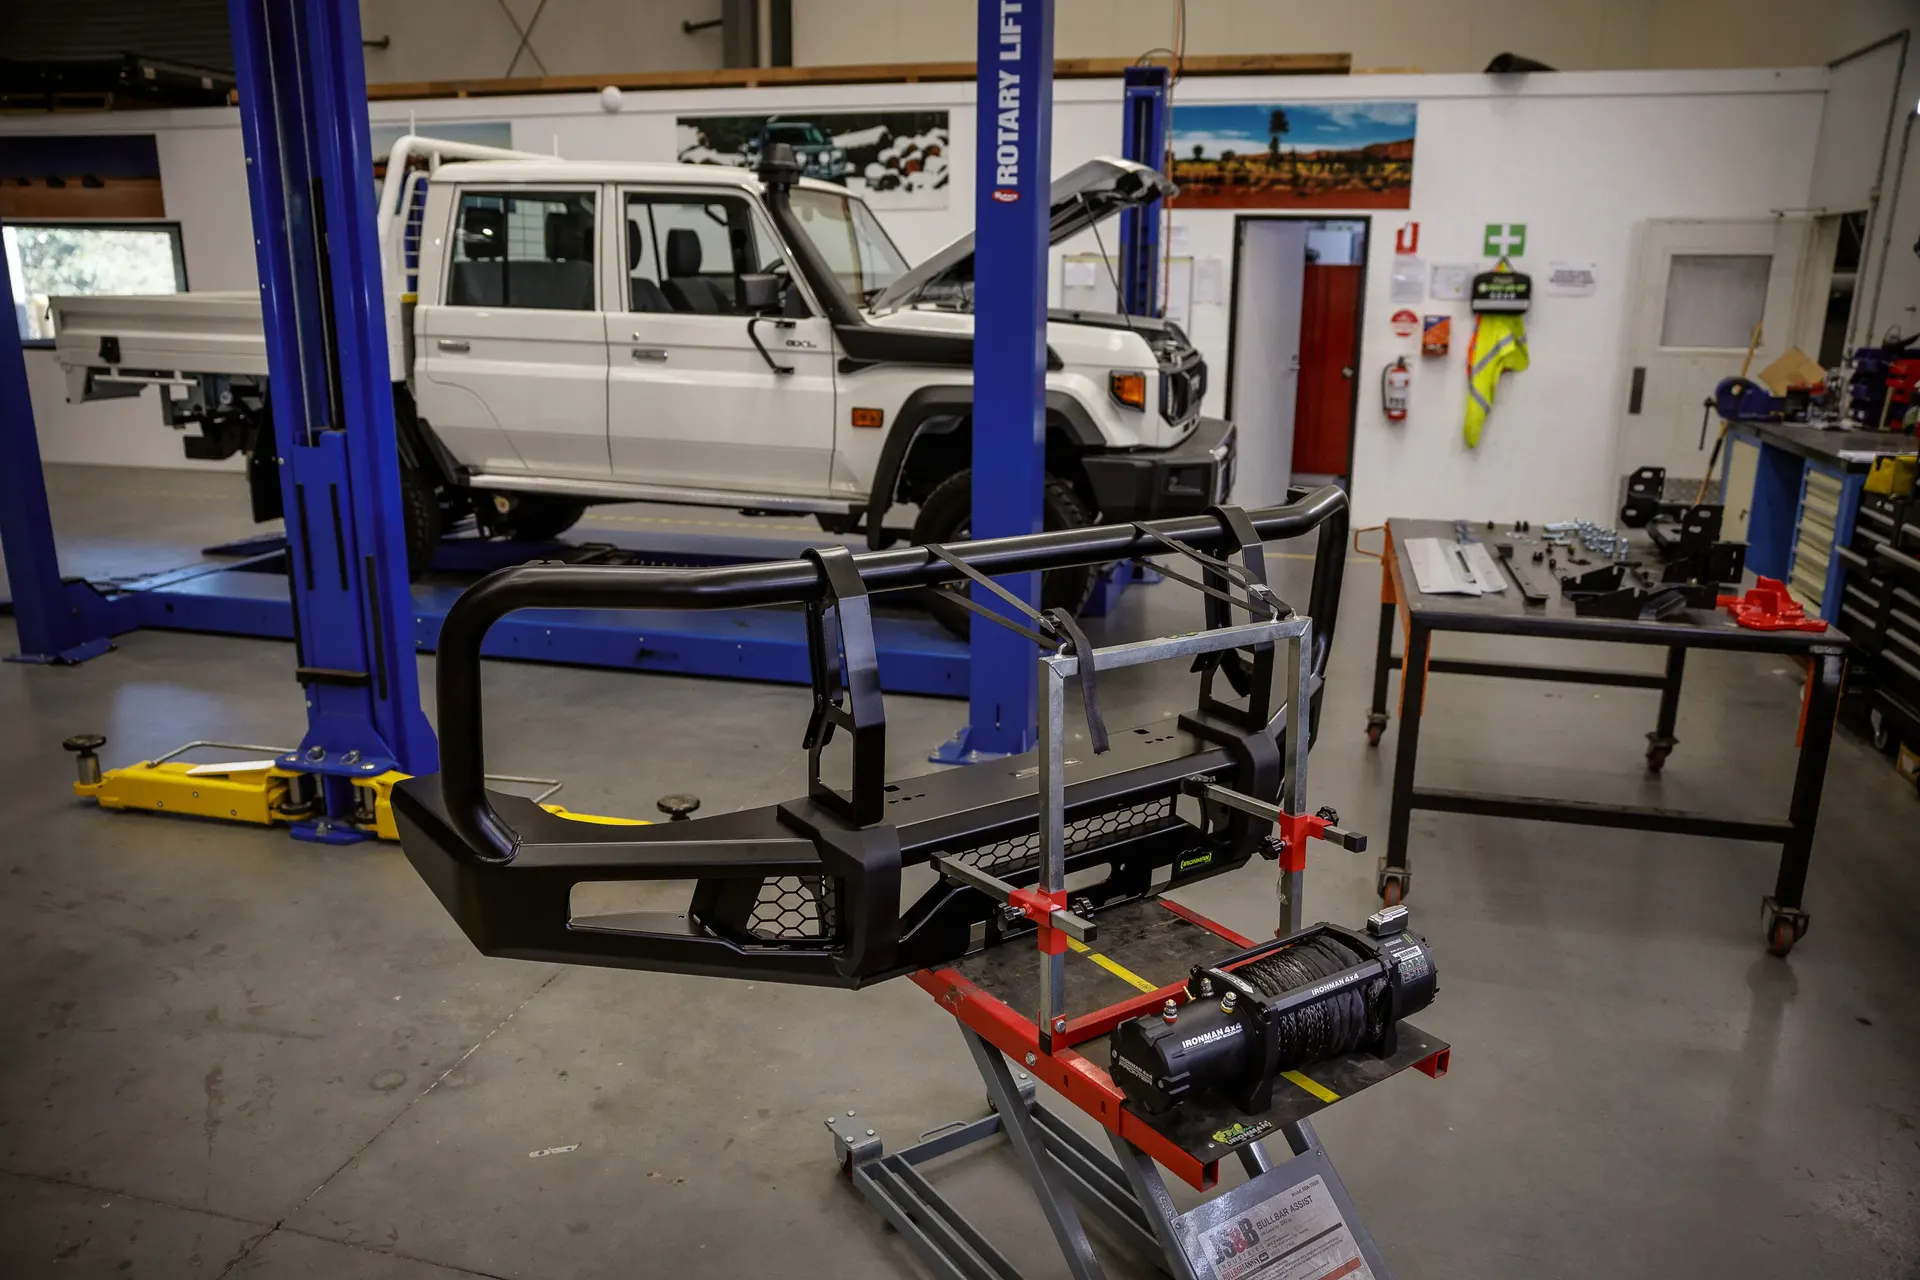
Front protection, winch, underbody protection, snorkel and lighting are common additions for vehicles travelling off-road or into more remote areas.
These items can add materially to the total once several protection and recovery components are combined.
The final cost depends on the vehicle, product choice, fitting requirements and any integrated accessories.
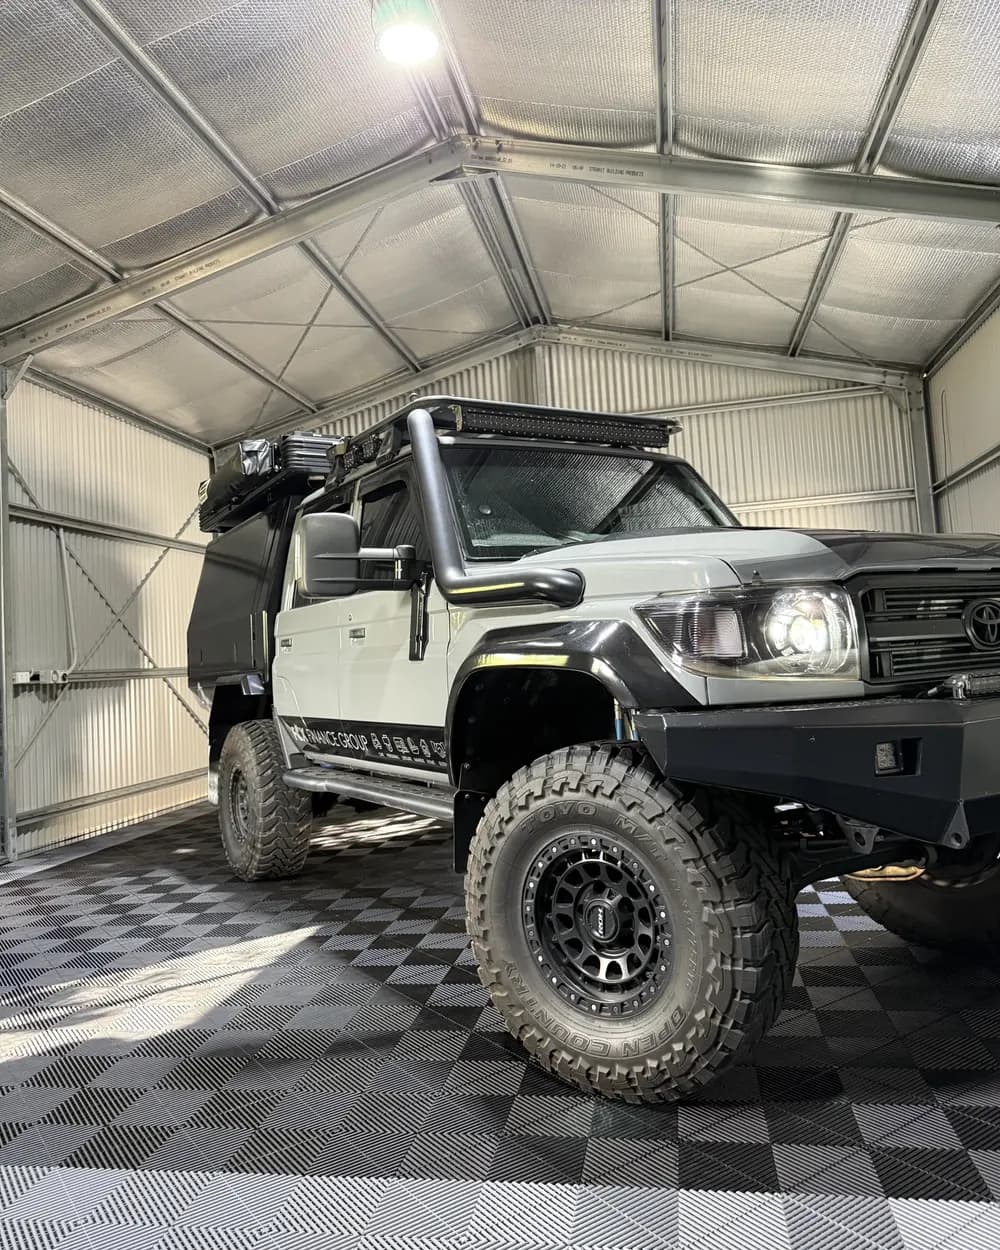
Tray and Canopy
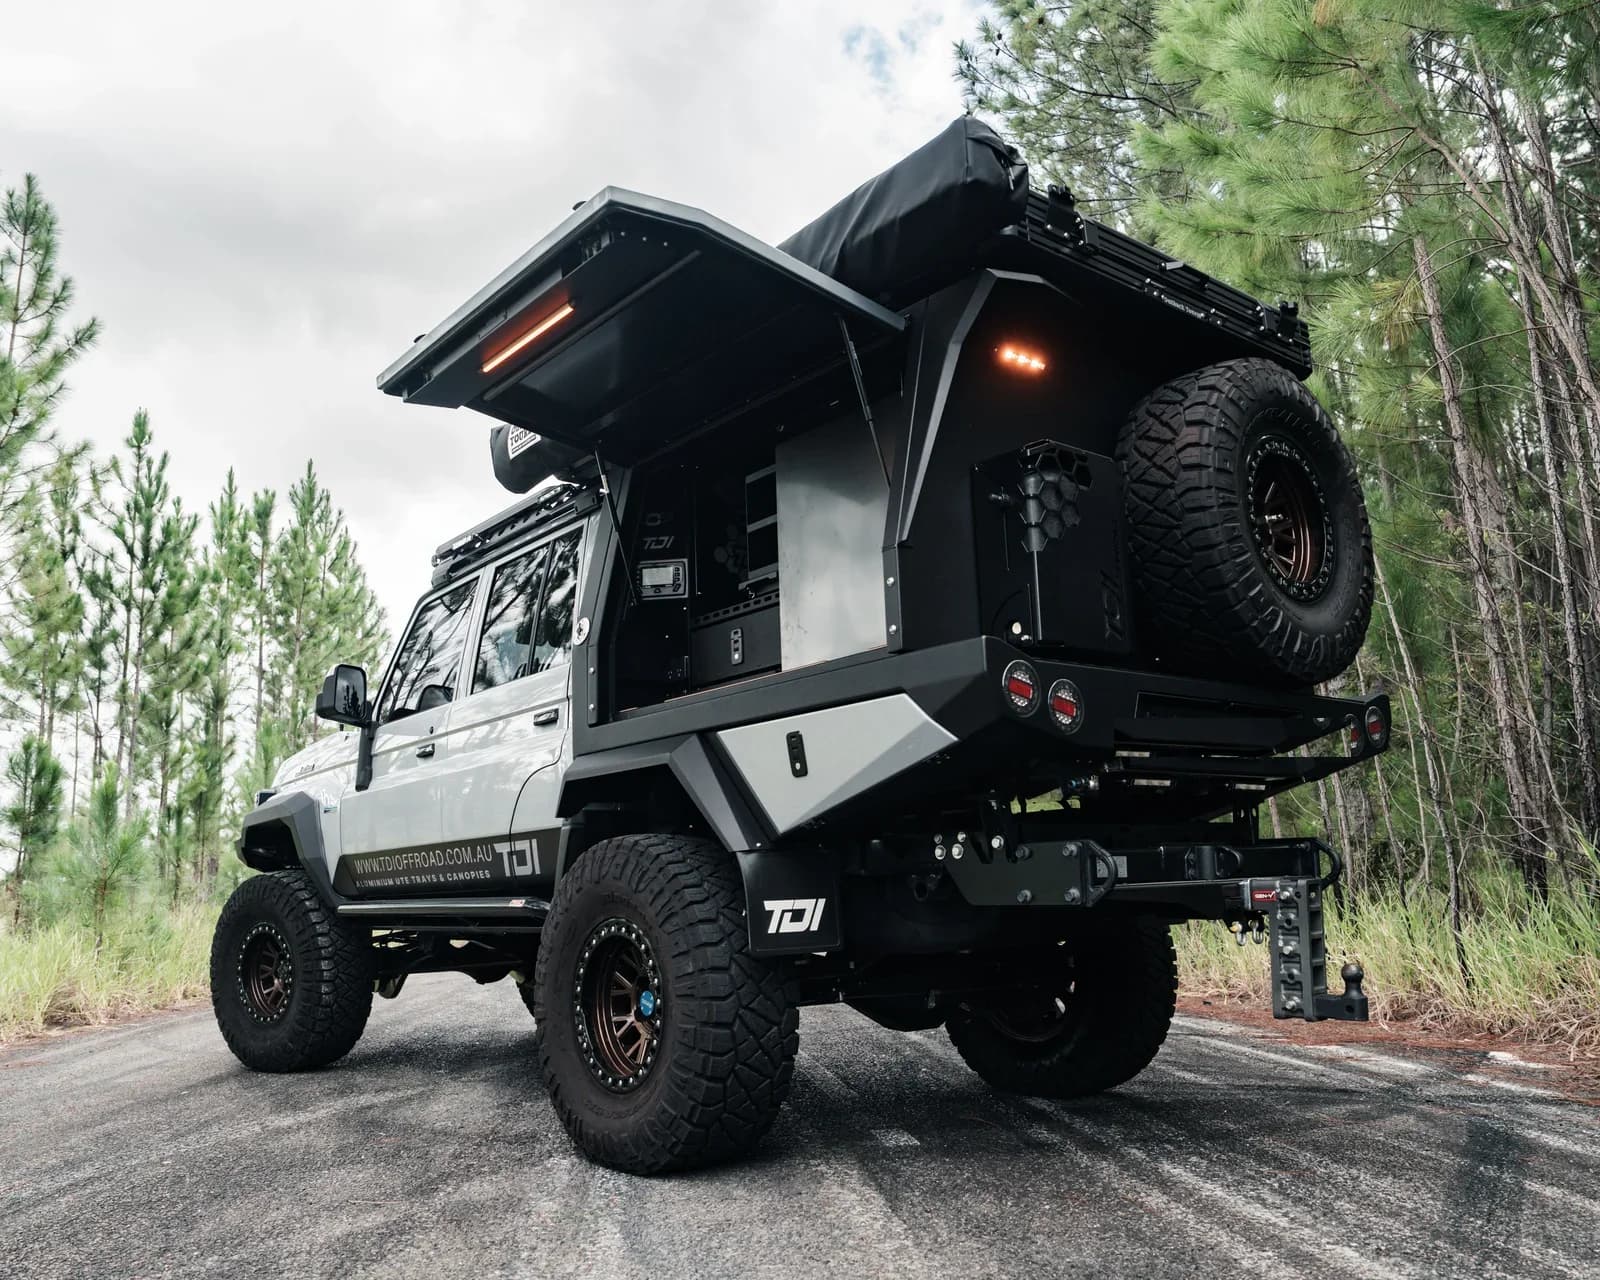
For tray-back 4x4 touring builds, the tray and canopy can become one of the largest parts of the project.
The budget can change significantly depending on tray material, canopy length, spare-wheel carriers, toolboxes, doors, drawers, kitchen modules, roof storage, internal fit-out and electrical integration.
Formal supplier quotes are far more useful here than relying on a generic online estimate.
Electrical, Lithium and Solar
Power systems can range from a simple auxiliary battery and DC-DC charger through to an integrated lithium system with solar, inverter, monitoring, switching, refrigeration and multiple charging inputs.
The more you want to live from the vehicle away from powered sites, the more important this part of the setup can become.
Budget impact increases with battery capacity, integration, inverter size, solar, monitoring and installation complexity.
Rooftop Tent and Awning
A rooftop tent is a good example of how one purchase can affect more than one line in the budget.
The tent itself may also require racks, mounting systems, an awning or other changes to the way the roof is used.
That is why it is better to look at the full sleeping and shade setup rather than treating the rooftop tent as an isolated purchase.
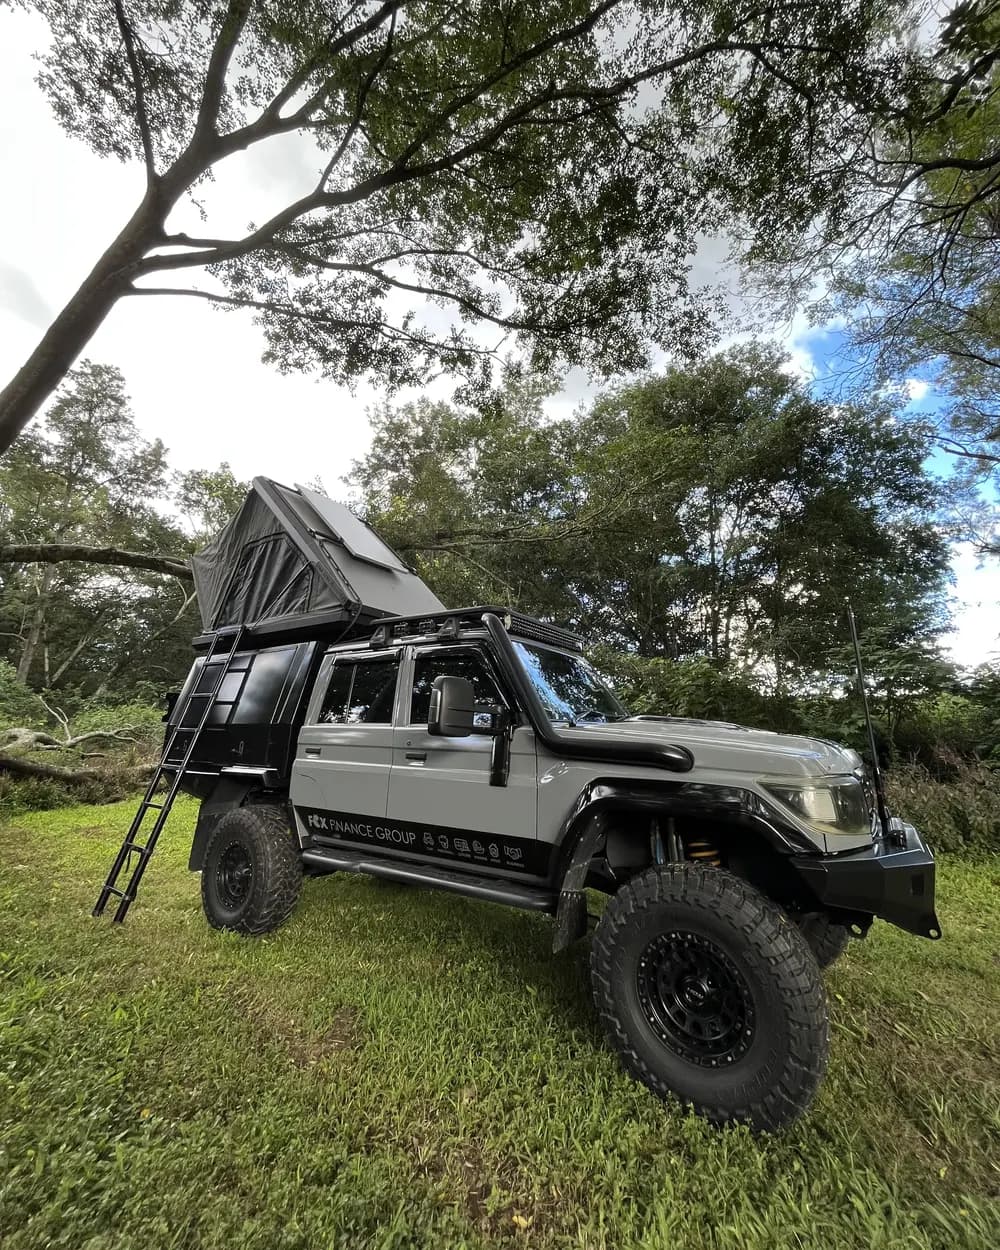
Wheels and Tyres
Touring tyres, upgraded wheels and additional spares can become another meaningful cost.
Size, construction, brand, load rating and whether factory wheels are retained all affect the final budget.
Water, Refrigeration and Storage
Water tanks, pumps, fridge, drawers, kitchen slides, shelving and storage systems can look modest individually but add up quickly when they are integrated into the canopy.
For family and long-term touring, this is also where a lot of the day-to-day comfort of the setup comes from.
Communications, Lighting and Touring Extras
UHF, satellite connectivity, work lights, camp lights, air compressors, recovery gear and other touring accessories often fill the gaps between the major categories.
They are easy to overlook because they are often bought at different times.
A separate “other touring equipment” line in the budget makes these costs harder to miss.
Three Different Ways the Budget Can Grow
These are planning profiles rather than quoted packages. They show why the intended use matters more than looking for one average build figure.
| Build Style | Typical Focus | Budget Character |
|---|---|---|
| Weekend-Focused Upgrade | Suspension/load carrying, fridge/basic power, awning, recovery, communications, storage, selected wheels/tyres | Usually the most focused build. Spending is concentrated on what makes short trips easier. |
| Family Touring Build | Suspension/GVM where relevant, tray/canopy or substantial storage, power, fridge, water, shade/sleep, recovery, communications, towing setup | Broader project because storage, power, water, towing and comfort start working together. |
| Complete Long-Term Touring Build | Premium tray/canopy, engineered suspension/GVM where relevant, larger lithium/solar, inverter, water, refrigeration, sleeping solution, communications, recovery, lighting, storage, wheels/tyres/spares | Can be substantial because the 4x4 becomes a complete long-term touring system. |
Where Build Budgets Blow Out
The expensive part is not always the big item you expected. It can be the things that appear later because the complete setup was not considered early enough.
- budgeting for the tray but not the canopy fit-out
- forgetting installation and engineering costs
- adding electrical equipment after the canopy design is already final
- changing suspension after the vehicle becomes heavier
- buying accessories twice because the first setup no longer suits the final build
- underestimating batteries, solar and inverter requirements
- forgetting racks, mounts, wiring and small installation components
- adding water, spare wheels and storage late in the process
- not allowing for towing-related requirements
- committing to major components before the full project is understood
Complete Build or Staged Build?
Complete Build
A complete build can make sense when you know how the vehicle will be used and want the main systems designed together from the beginning.
It can also make weight planning, electrical integration and supplier coordination easier because the finished setup is being considered as one project.
Staged Build
A staged build can make sense when you want to start with the essentials, use the vehicle for a while and then add more based on what you learn.
The important part is keeping the eventual end state in mind so today’s decisions do not create unnecessary rework tomorrow.
 Related GuideComplete 4x4 Build vs Staged Build
Build the Whole Budget Before the First Big Commitment
One of the simplest ways to make the project clearer is to list every major component before ordering the first one.
That does not mean every detail needs to be locked in. The goal is to reveal the likely size and shape of the complete project early enough to make better choices.
A useful build budget can include:
- vehicle purchase where relevant
- suspension and GVM-related work
- bullbar, winch and protection
- wheels and tyres
- tray
- canopy
- canopy fit-out
- dual battery or lithium system
- solar
- inverter and power management
- fridge and refrigeration
- water storage and plumbing
- rooftop tent
- awning
- roof rack and mounting systems
- lighting
- UHF and communications
- recovery equipment
- air compressor
- towing equipment
- storage
- installation labour
- engineering and certification where relevant
- freight
- a separate contingency line for changes
Real-World Build Lesson
The biggest lesson from real touring builds is that the build keeps teaching you things after it is finished.
A component can look perfect on paper and still turn out to be awkward to access, heavier than expected or less useful than something simpler.
That is why Built for Adventure treats the build as something that can evolve.
The aim is not to finish with the longest accessory list. It is to end up with a setup that is easier to use for the trips you actually take.
Things to Think About Before You Start
What trips do you actually want to take?
How many people need to travel comfortably?
Will you tow?
How much storage and water do you genuinely need?
How long do you want to stay away from powered sites?
Which systems need to be integrated from the beginning?
Which upgrades can wait until you have used the vehicle more?
What weight is being added as the build grows?
Which parts require engineering or specialist advice?
What would be expensive to change later?
Key Takeaways
- There is no single useful average for a 4x4 build.
- The adventure you are planning matters more than copying someone else’s accessory list.
- Tray and canopy, suspension, electrical, rooftop tent, wheels and tyres can become major project categories.
- Weight planning and budget planning are closely connected.
- A staged build can reduce the initial project size, but the eventual end state still matters.
- Supplier quotes provide the real project cost; generic online estimates are planning tools only.
- Build the whole budget before major commitments are made.
- A good build is measured by how well it works in the real world, not by how many accessories are fitted.
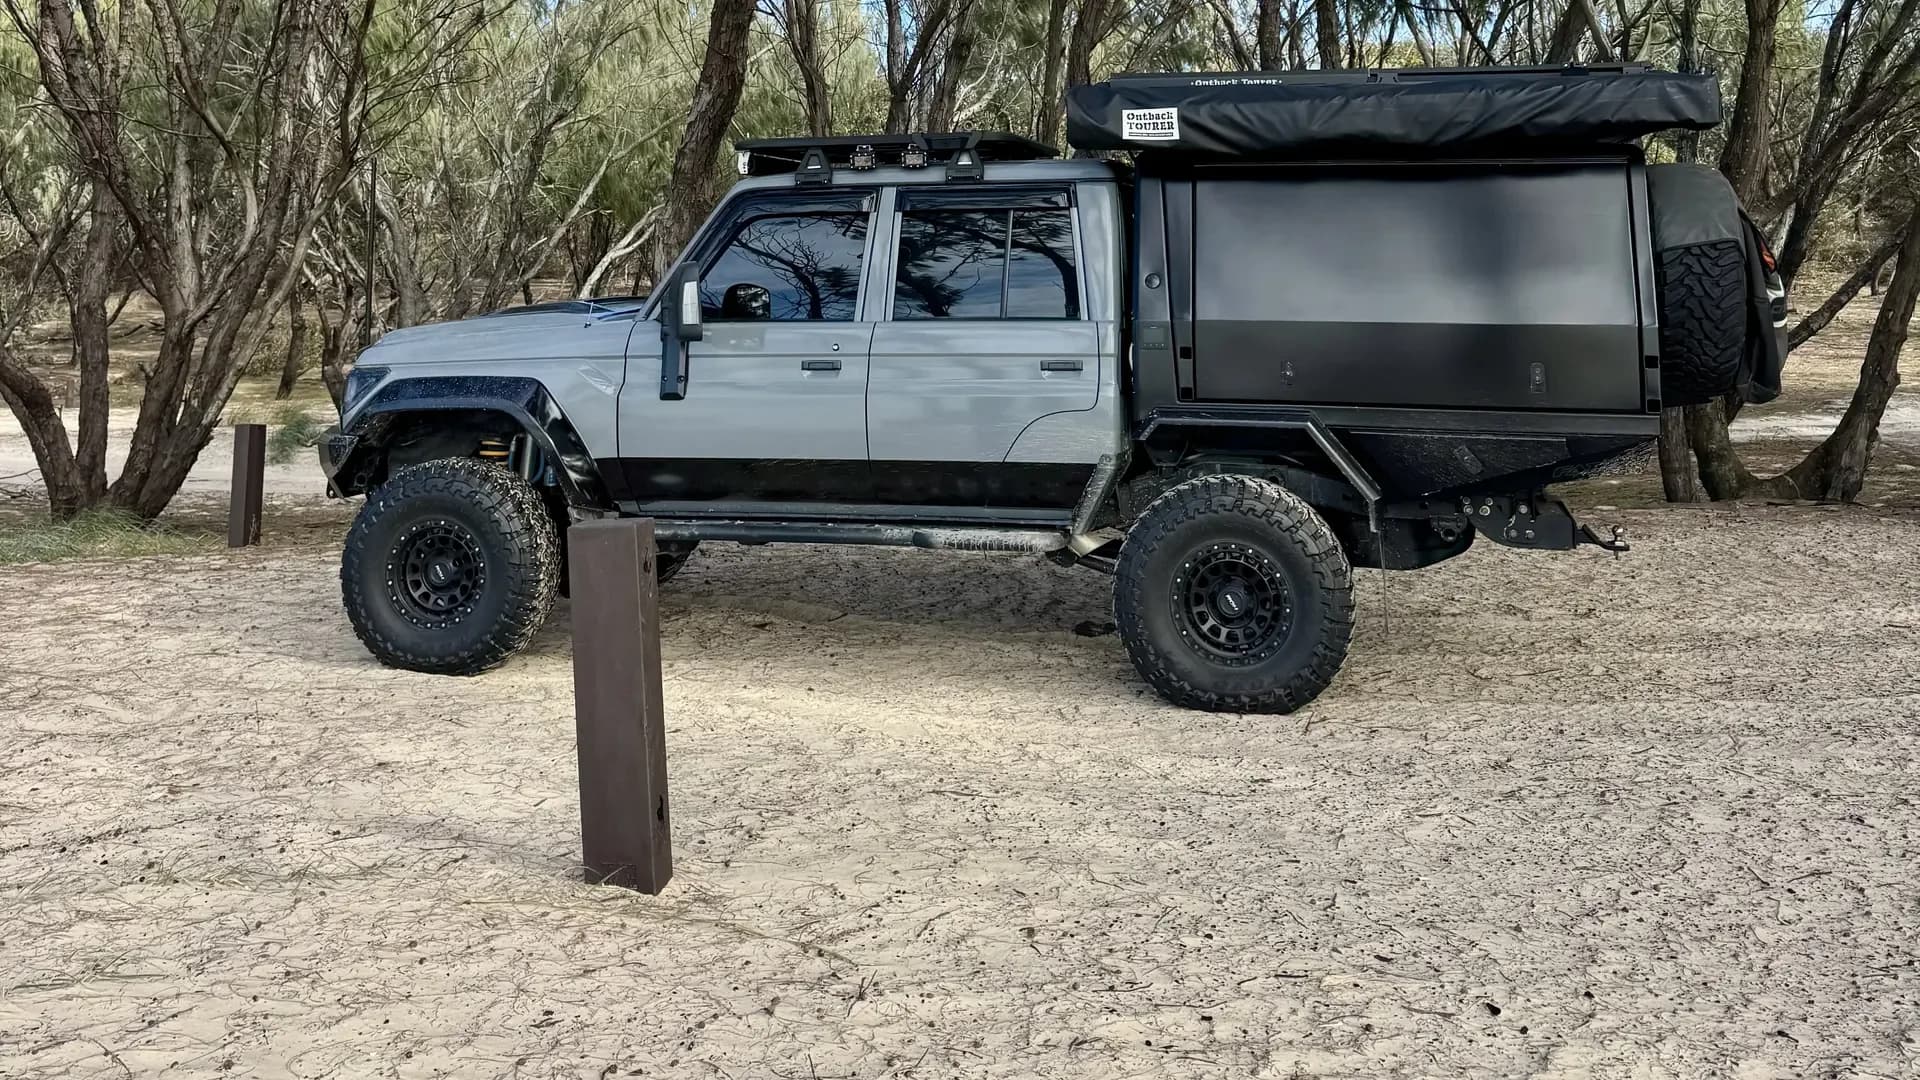
Drewsy’s 79: A Living Build Example
Drewsy’s 79 will be used throughout Built for Adventure as a real example of how a touring build evolves over time.
The build breakdown can show what has been added, the role each major component plays, where the money has gone and what changes as the vehicle is used more.
This Guide can link directly to the Drewsy’s 79 Build Breakdown rather than pretending a generic online budget can replace a real project.
Follow @drewsys79Common Questions
What goes into the cost of a 4x4 build?
There is no single figure. A targeted weekend setup and a complete tray, canopy, electrical, suspension and long-term touring build are very different projects. The final amount depends on the vehicle, equipment, suppliers, installation and project scope.
Can a complete 4x4 build become a major project?
Yes. Premium trays and canopies, GVM-related work, lithium power systems, rooftop tents, wheels, tyres, water, refrigeration and other integrated equipment can make a complete build a substantial project.
Do I need to do the entire build at once?
No. A staged build can work well when you want to start with the essentials and add more over time. The eventual end state is still worth considering before the first stage is locked in.
Is the cheapest build the best option?
Not necessarily. Budget is only one part of the decision. Weight, durability, integration, warranty, serviceability, supplier quality and how the vehicle will actually be used can all matter.
How much contingency belongs in the budget?
There is no universal percentage. Larger builds can benefit from a separate contingency line because supplier changes, installation items and additional components may emerge as the project is refined.
Finance Your Adventure
If the build plan has moved from inspiration into a real purchase decision, Adventure Finance is the separate specialist finance pathway. Built for Adventure keeps this Guide focused on planning the setup. Questions about pre-approval, lender criteria, rates, terms or whether the vehicle and build can be financed together belong with Adventure Finance.